Difference between revisions of "Elong-14-04-15"
From HallCWiki
Jump to navigationJump to search (New page: =Pzz=15% with ND3 Scenario= In a worst case scenario where we are stuck with Pzz=15% on an ND3 target, I looked into what single kinematics point we could spend all of our time on that wo...) |
|||
| Line 1: | Line 1: | ||
=Pzz=15% with ND3 Scenario= | =Pzz=15% with ND3 Scenario= | ||
| − | In a worst case scenario where we are stuck with Pzz=15% on an ND3 target, I looked into what single kinematics point we could spend all of our time on that would give us the best measurement. | + | In a worst case scenario where we are stuck with Pzz=15% on an ND3 target, I looked into what single kinematics point we could spend all of our time on that would give us the best measurement. (Note: For each of these plots, the systematics were hard-wired to the specific kinematics we had listed for the proposal. Don't trust them. The statistics are what's important.) |
First I did a Q^2 scan of the SHMS | First I did a Q^2 scan of the SHMS | ||
Revision as of 10:22, 15 April 2014
Pzz=15% with ND3 Scenario
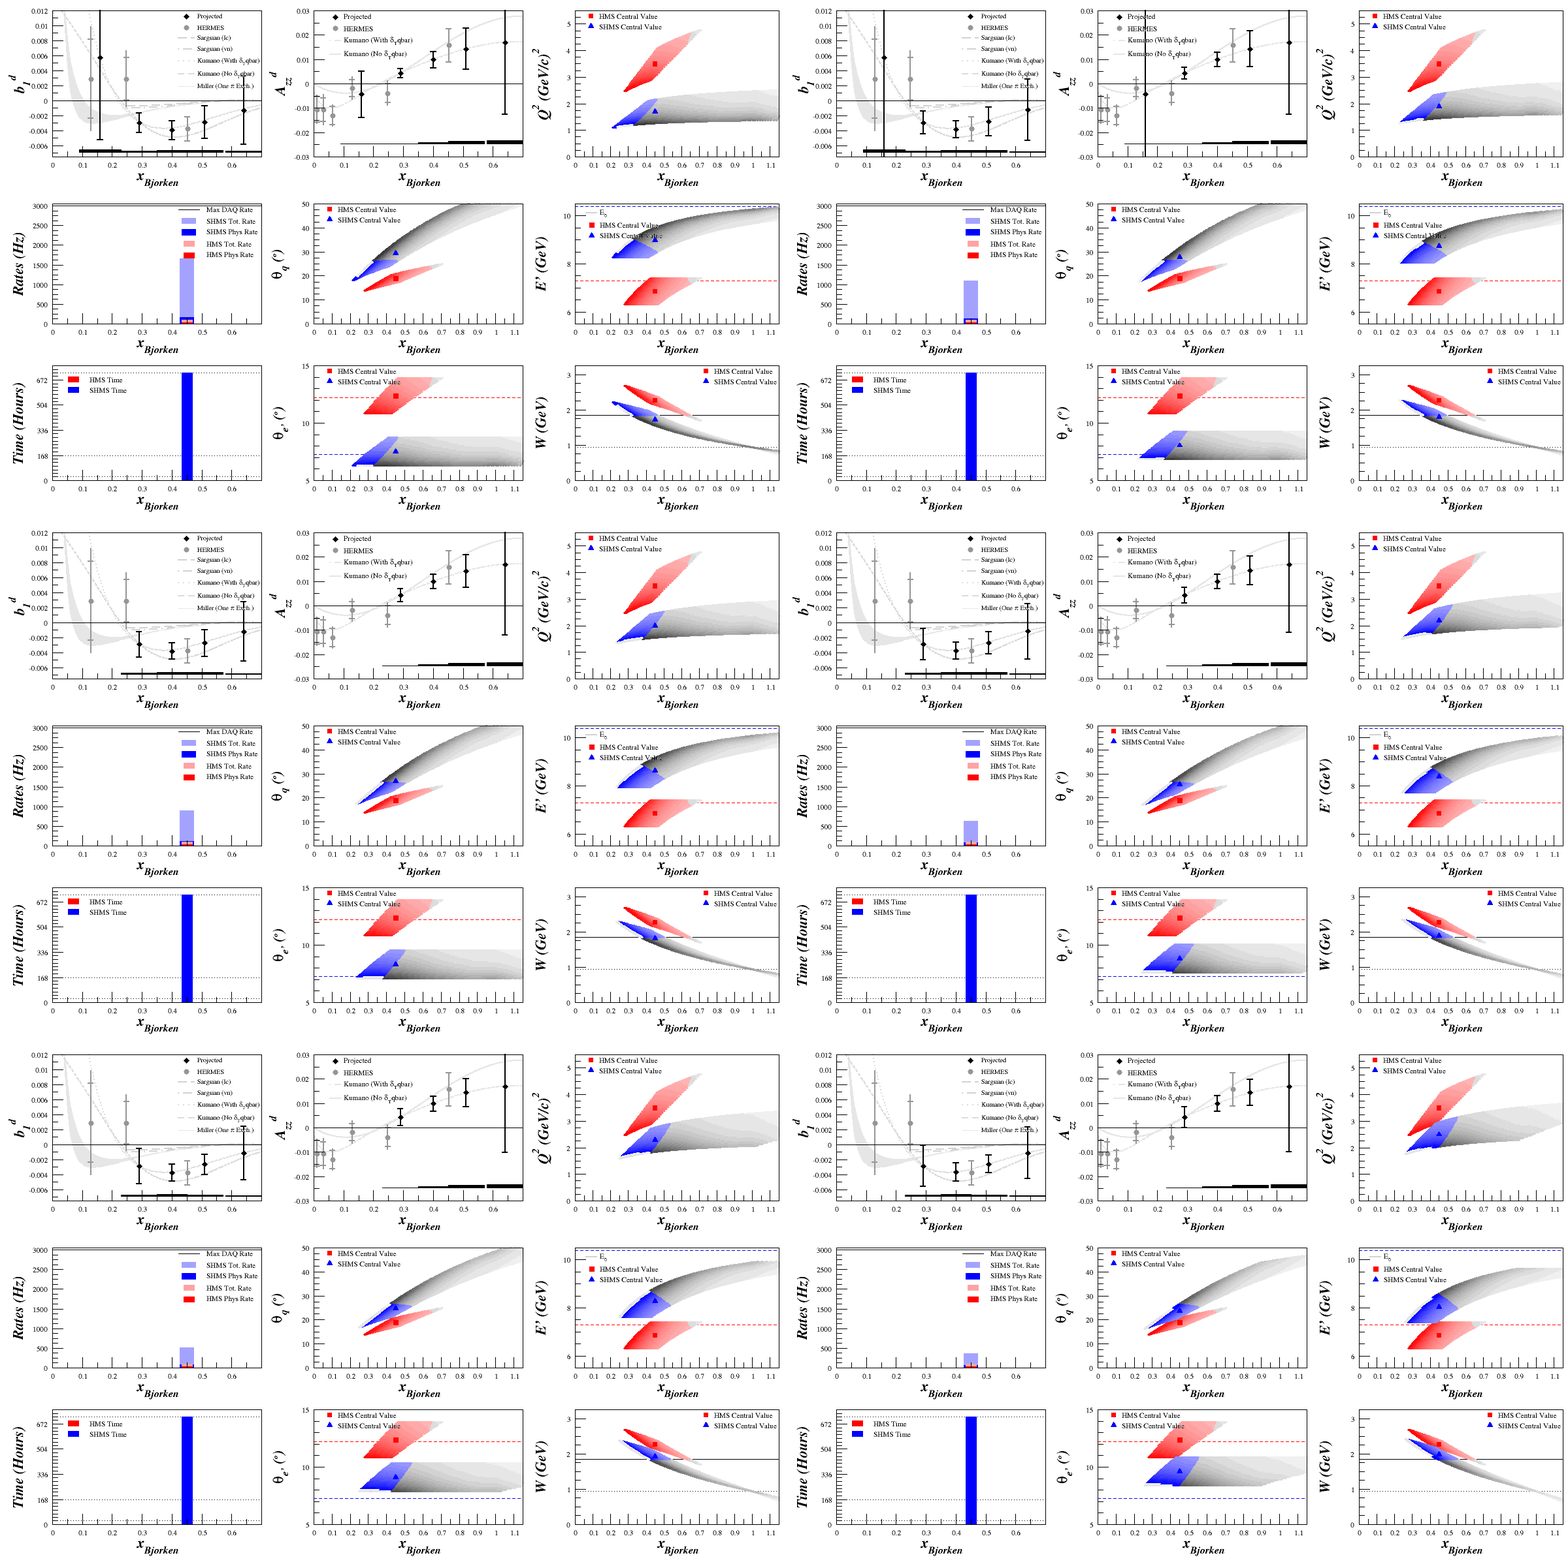
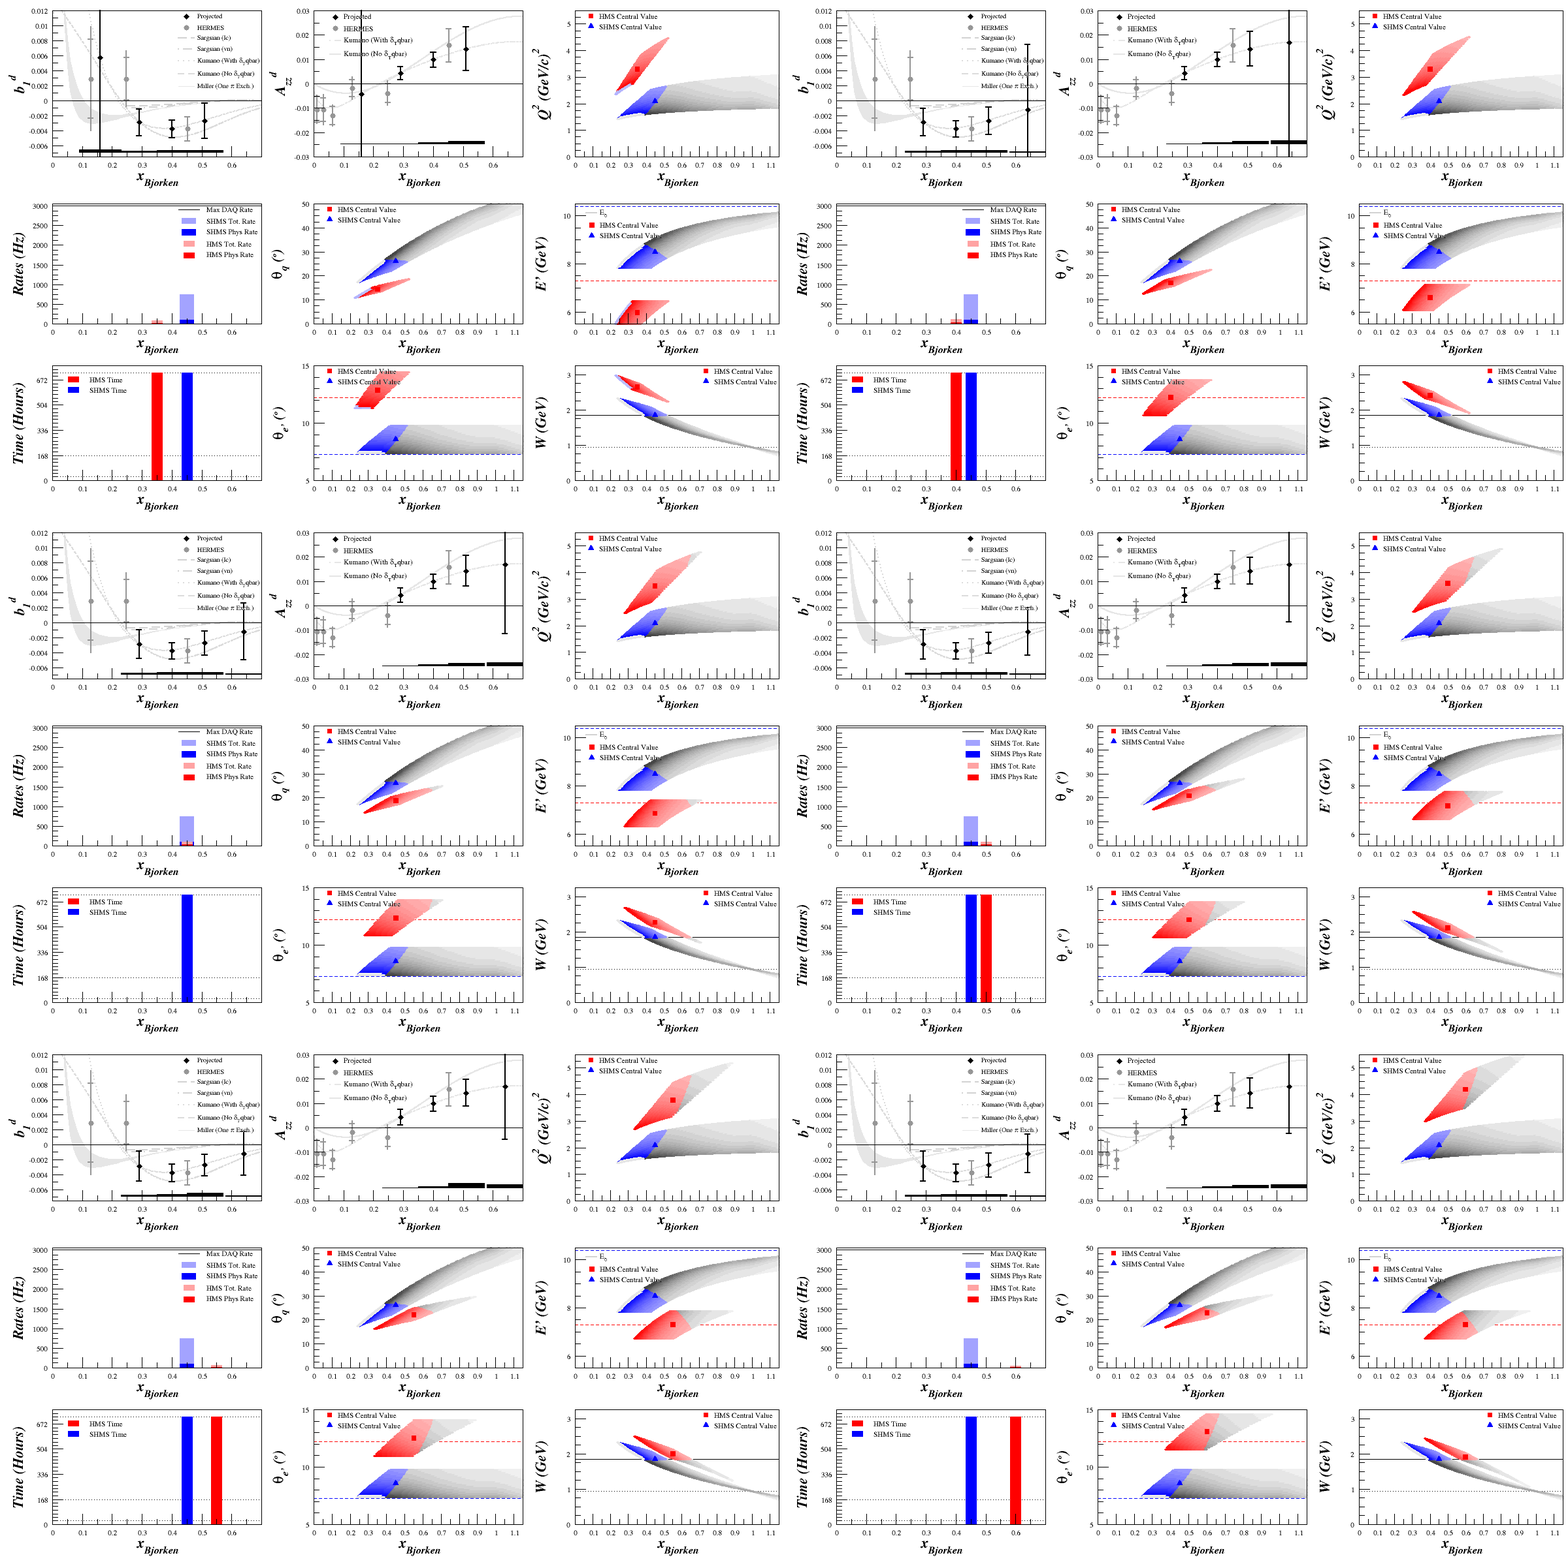
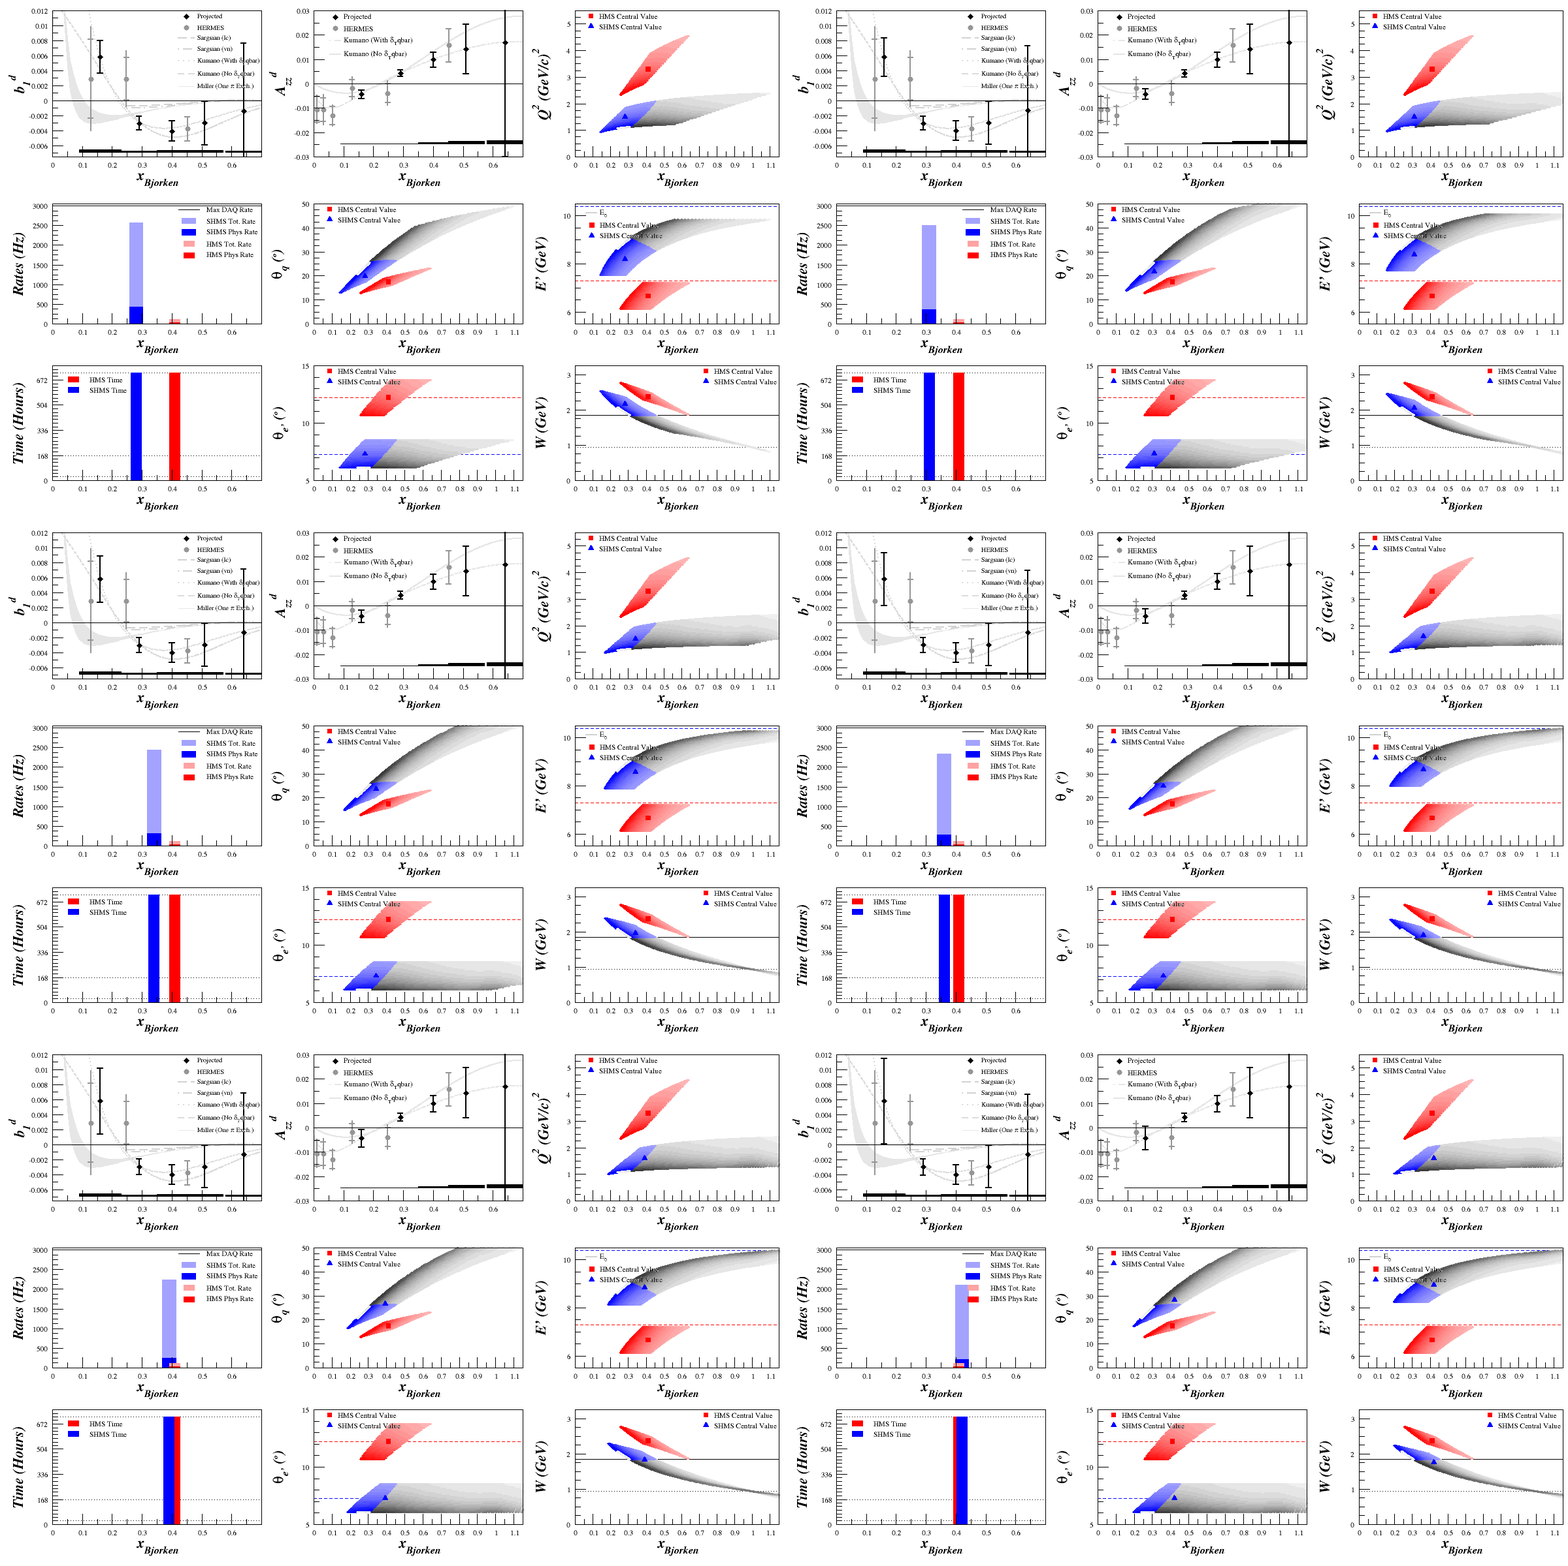
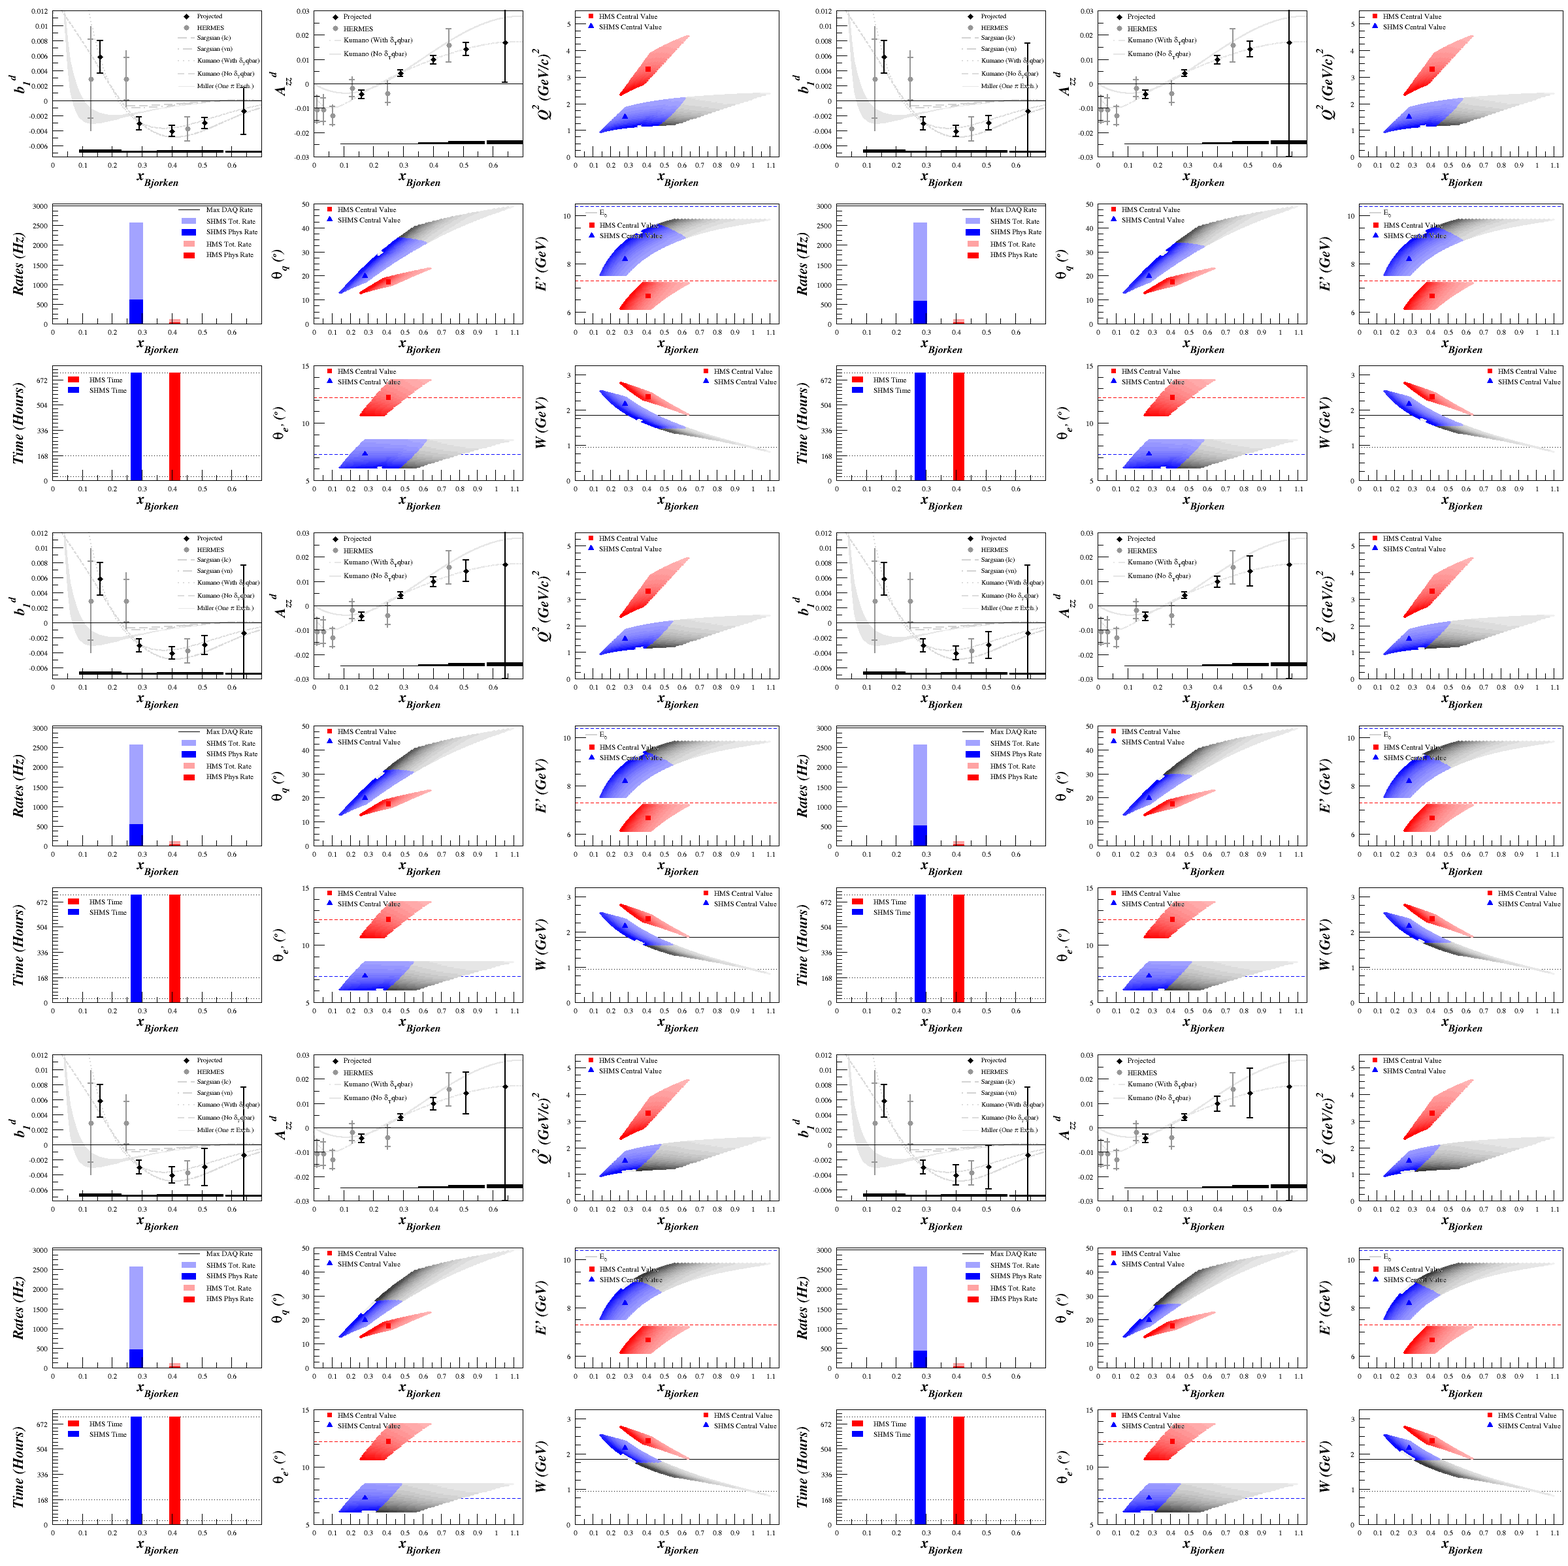
In a worst case scenario where we are stuck with Pzz=15% on an ND3 target, I looked into what single kinematics point we could spend all of our time on that would give us the best measurement. (Note: For each of these plots, the systematics were hard-wired to the specific kinematics we had listed for the proposal. Don't trust them. The statistics are what's important.)
First I did a Q^2 scan of the SHMS
This was followed by an x scan of the HMS
and an x scan of the SHMS.
After each of these, it looked like our best point was to put the central SHMS at x=0.28 and Q^2=1.47 with the HMS at x=0.41 and Q^2=3.33. If we do that, and are ok lowering our W^2, we can increase the statistics in the x=0.4 point by opening up the cut


